Preparing the pulp
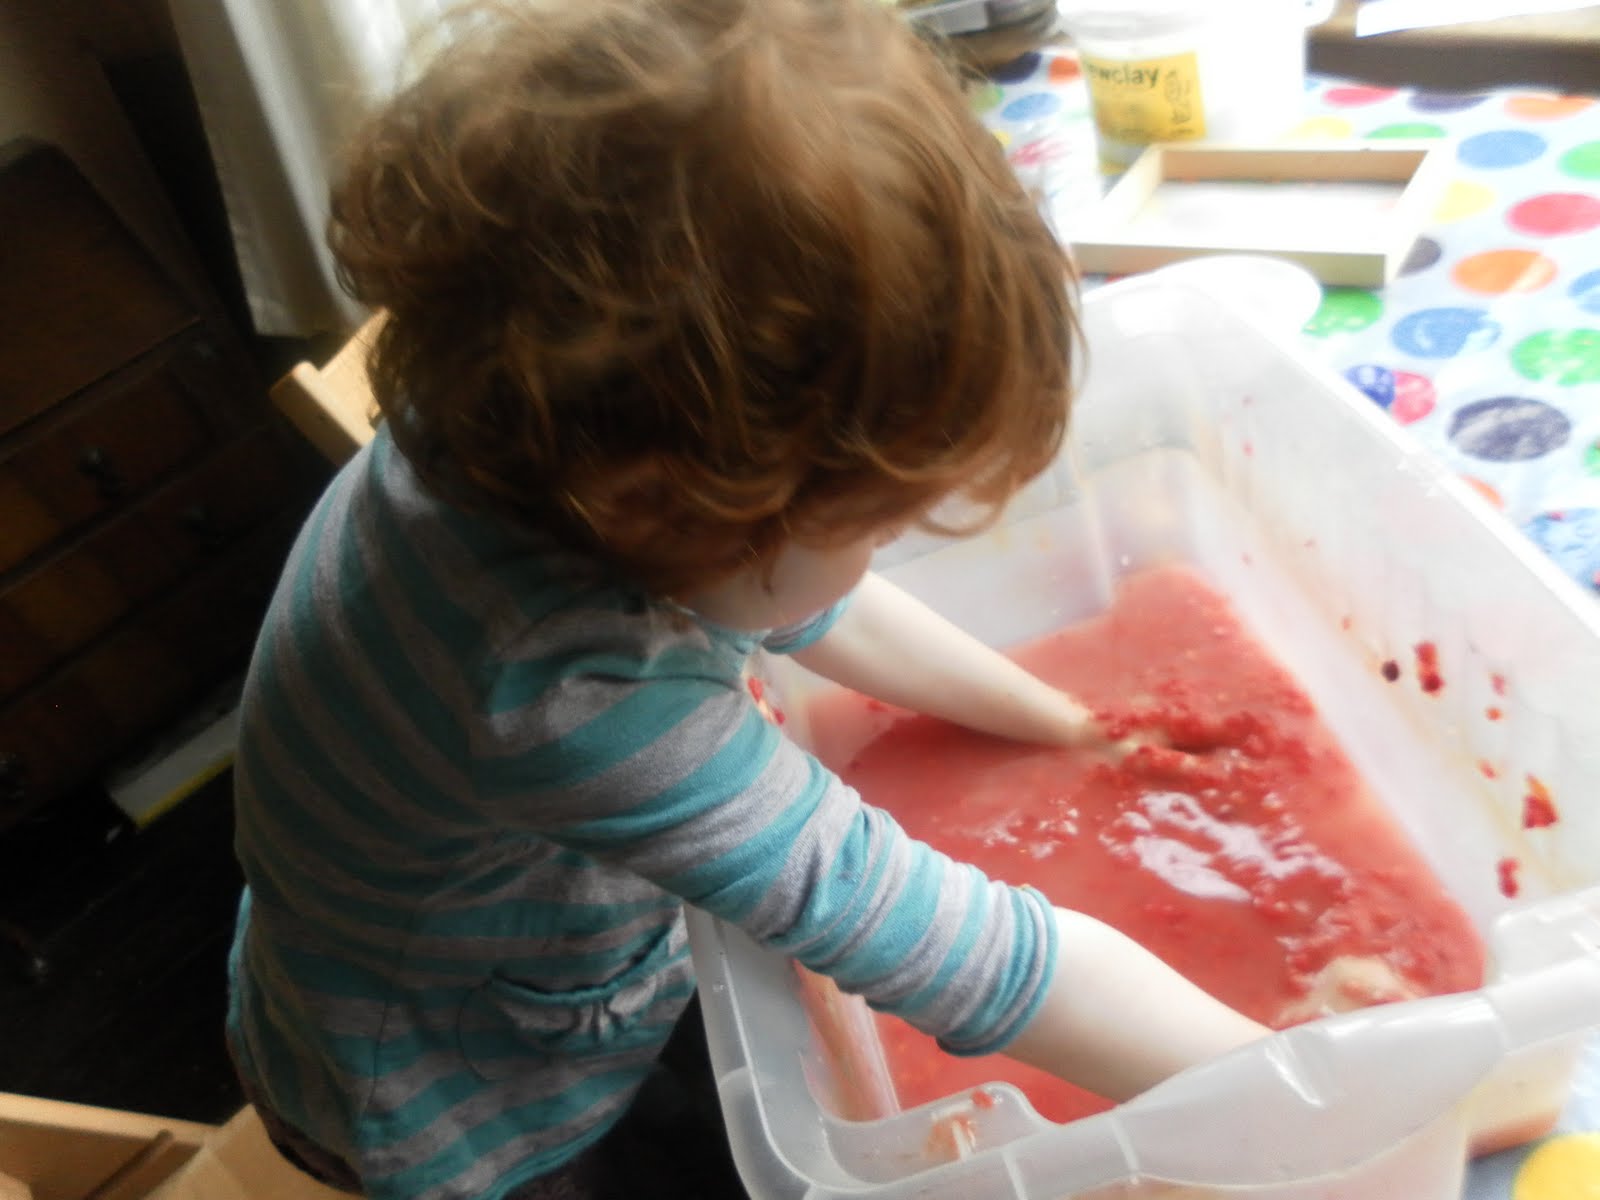
 Stirring the pulp
 I have written out how to make the paper bowls - I hope that you can understand this!
You will need: bowls to be the mould - I used some small plastic bowls bought in the supermarket (originally for jellies at parties) , but you could use china or glass bowls. Petroleum jelly to grease the bowl
Plain flour
Waste papers - we used sugar paper in red, pink and yellow (not newspapers) Sugar paper gives a soft colour
Optional - cotton linters. These are used in craft papermaking and help to make your homemade paper stronger and smoother. They look a bit like sheets of blotting paper. We just added a one sheet to the mix. (This is where I usually buy linters in the UK, http://www.papershed.com last time I looked they were £3.15 for 250gm)
A blender or food processor
Coloured threads or glitter for decorating
A large plastic container - we used a big storage tub
Making bowls this way is quicker than the tearing strips of paper method that you may done in school.
- You need to prepare the pulp the day before you want to make the bowls. Tear the paper into small pieces about 2cm square and add hot water to cover - this will help soften the fibres. I leave this over night.
- Blend the papers adding water till you have a mix that is a bit like fine porridge. Stir it up before using as the fibres will sink to the bottom of the tub.
- Coat the inside of your plastic bowls with vaseline to act as a release agent.
- You will need to use a starch-based glue - we used flour and water (3oz flour: 1 pint water) but you could use wallpaper paste. We added the flour and water to the pulp mix and stirred it in.
- It is useful to sieve the pulp as you go along, we would sieve some pulp over the tub and then put it in the mould bowl. You neeed to firmly press the pulp into the sides of the bowl. If you want to decorate the bowl with coloured threads you put them in now - think about whether you want them to show on the outside or inside of the finished bowl. As we pressed the pulp into the bowl excess water comes out which we tipped away as we went. You can also add glitter at this stage. Make sure there are no spaces left uncovered by pulp or you will have a hole! At this stage I gently pressed an absorbant J cloth over the bowl to take out some excess water.
We stood the bowls on the radiator to dry and they took two days to dry out. Once dry you should be able to slip them out of the mould. If the bowl is hot form the radiator be warned any vaseline left on it will show up but it will disappear once the bowl cools down.
 The wet bowls in their moulds


 And I found this top screwed up in (one of) the sewing bags. I made it at the start of the summer in a