Sunday 28 November 2010

Handmade christmas cards

This year we seem to have made a range of cards. There are still more to go but here is what I have done so far.
There was a time when I would carefully handcraft all my cards - then I had children and for the past few years I have tried to get them to do as much of the work as possible. BUT this year I have made a few handmade grown up cards of my own without any little helpers. The ones on the left are brooches and the rest are little decorations. I have made some more in red and white which I really like but they are awaiting finishing off. They are to be something a bit more than a card, maybe a presentette, or a card-ent, or a pres-ard...okay, I will stop this nonsense now. Back to more cards.

We made these black and gold cards yesterday for friends and relations - can you tell what they are? They are supposed to be Christmas baubles. I am not sure if anyone will get it. T has told me that I need to draw on the hanging threads to bring the message home.
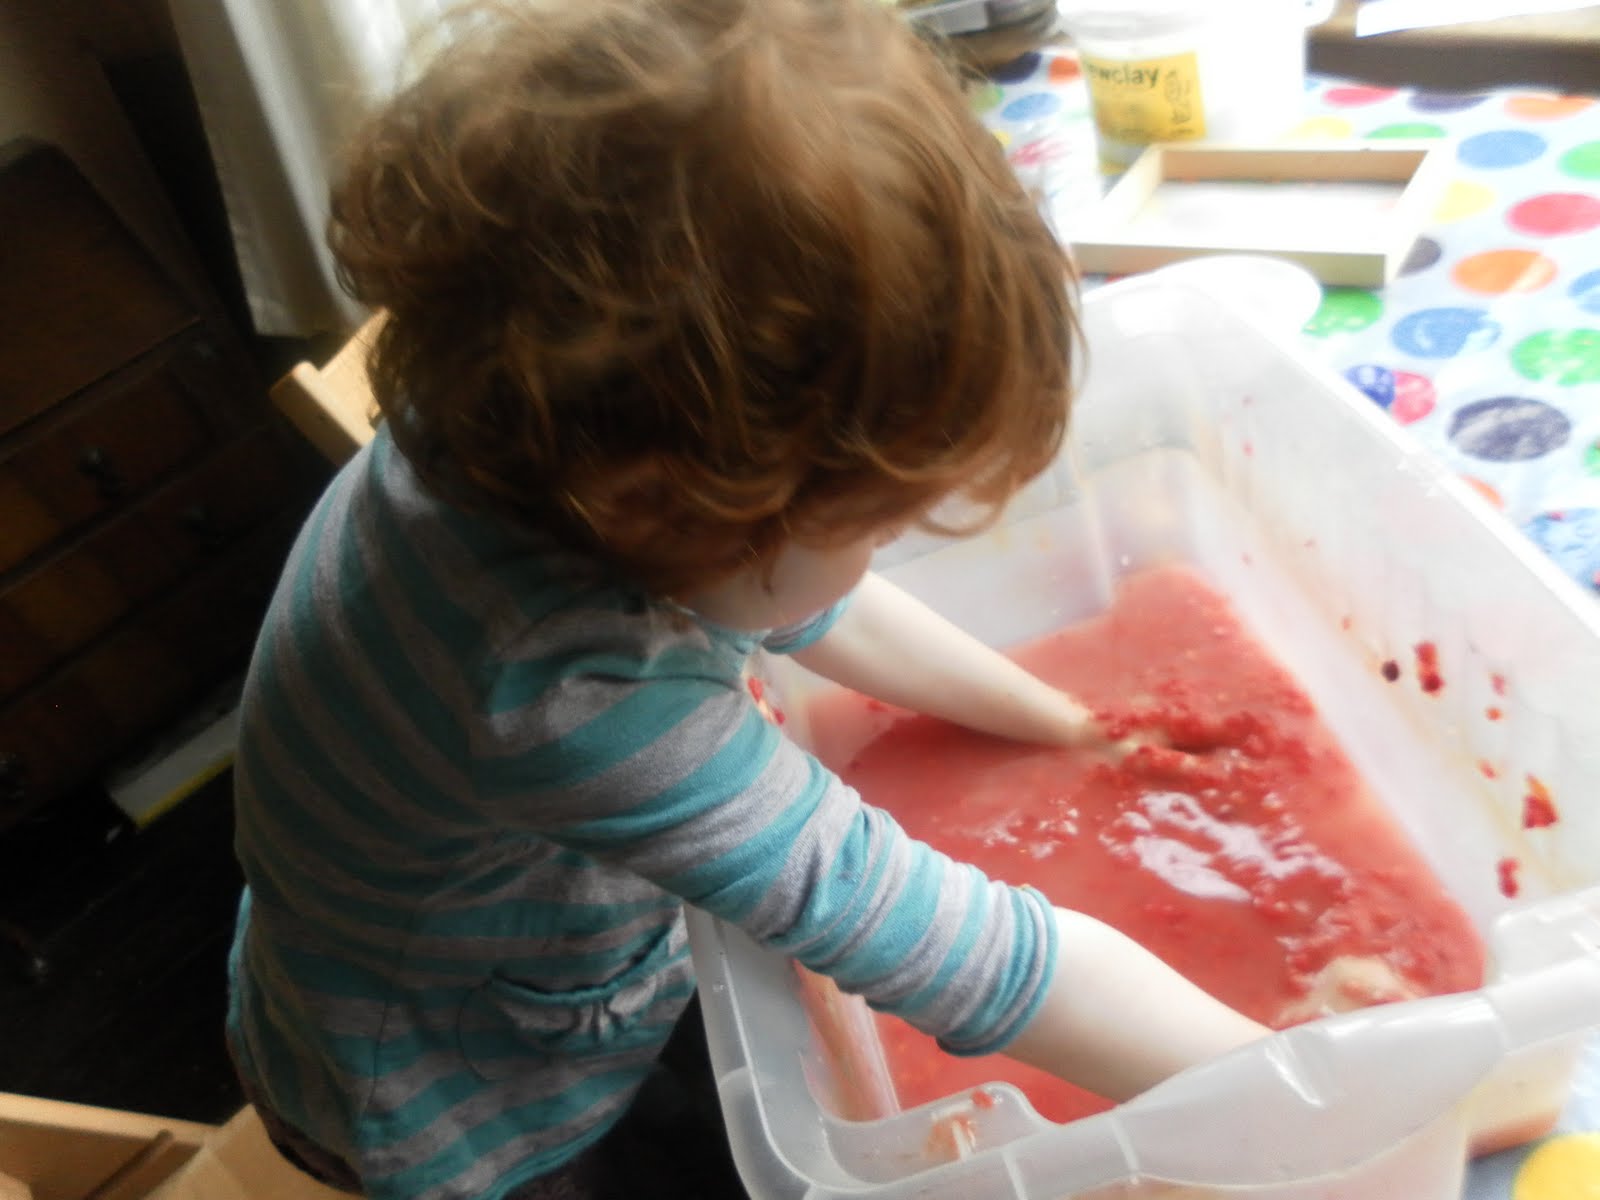
T potato printed a sheet of black paper with gold paint. It was all going superbly and was a lovely wholesome family scene until I left the room and he went into a Jackson Pollock mode, ending with a full handpainting finale, and obliterating almost all the potato prints. (Yes, this is the seven year old, not the three year old). He then gilded our bathroom and towels trying to wash his hands. He returned to survey his masterpiece and sighed "It looks really beautiful". Once cut up and glued onto blank cards he added the mandatory glitter. *
Next up - these cards are for our Christmas Card Swap. We made ten of these beauties.


I do like to set my children to work...we have signed up for Kids' Craft weekly card swap. You have to register interest by the 30th November and then get assigned 10 swap partner families. This is very exciting if you are seven and like receiving post.
Last weekend in the interest of forward planning we made our ten cards. The rule is that the cards must be made by the children, so I cut out simple tree and stocking shapes, some from felt and some from craft foam which we glued on to the cards and they then added shapes and glitter. Plenty of glitter....

On a more serious note I do try and show T and I that is fun to make cards and gifts for people and it is good to have to make a bit of an effort for others in your giving.
* I didn't tell him off for the Jackson Pollock episode as (and I may sound like Hippy Mum here) the art he does at school is so narrow and prescriptive that he never gets to have any freedom in creativity there or just to enjoy the physicality of working with materials. So I feel it is my mission to allow some exploration at home. I do have rules about wall painting and vandalism though.

Saturday 27 November 2010

Nearly new sale finds


Today I went to a Nearly New Sale held at the end of each month in a village near to T's school. I had been meaning to go for the last few months but keep missing it. It had been described to me as more of an antiques and bric-a brac market but I think I liked it more as it was slightly jumble sale-y. But without the crowd. It had clothes rails and then tables with bric a brac on. Here is my haul...this bright sunny yellow plate, it gives a touch of cheerfulness to our table, just what I need on a cold winter's day. (Only a pound!)
A red silk metallic jumper, with three quarter length sleeves. What more could I want for the Christmas season? Two stripey long sleeved t shirts, I do like some stripes. A navy and white stripey top (from Hobbs, lah-di-dah, posh for me) and a green and black stripey top, the black is sort of shiny and glittery in real life. I think these two will go with my me-made skirts and trousers. These were all £2 each. Little I bought two trains for her and her brother. I am training her young.

Friday 26 November 2010

Cardigan inspired


I was inspired by Ali today. She posted about refashioning a

thrift store cardigan to make her own Anthropologie style cardigan. Her cardigan is so sweet and chic. I know mine looks nothing like hers but her actions made me get out this old black cardigan that I never wear and some of my lace collection. Here is the result. It is so much prettier than the old black boringness and I think I will wear it a lot this winter. Thanks Ali.

Sunday 21 November 2010

Map bowls


More paper bowls. This time made with a traditional papier mache method of torn scraps and pva glue layered up over the outside of a small plastic bowl (coated in vaseline). I made one by layering the paper inside the bowl but it didn't hold its shape. We used old ordnance survey maps, I was given a bag full of these on freecycle about a year ago. Maps are great for decoupage projects if you want to use the posh term. Inside the bowl are some recycled wax crayons -made on a rainy afternoon last summer. We put pieces of broken wax crayon in to a muffin tray and melted them in the oven. This way I avoided pans of hot wax and small children, not a good mix. We had fun selecting which colours to put together. But Holly over at Chez beeper Bebe has taken the recycled wax crayons to a new level in this post. Once I have refined my wax crayon recycling I am thinking they will be good party bag presents.

Tuesday 16 November 2010

Japanese top revisited

I cleared out the Scary Understairs Cupboard last week, and sorted some of my sewing stuff. Do you remember the episode of Friend with Monica's cupboard? Well our scary cupboard is a bit like that except the rest of the house is a mess too. Things tend to get thrown in the cupboard. We keep rucksacks and large bags in there. I also hide toys in there on a rotational basis, for instance a large box of playmobil and the toy farm. I haven't put in a photo because it really is too too bad.

I filled two bin bags with too-small children's coats, fabric oddments, old clothes for a rag collection that raises funds for T's school. I sorted out two bags of fabric that were in the cupboard when they really should be somewhere else. 
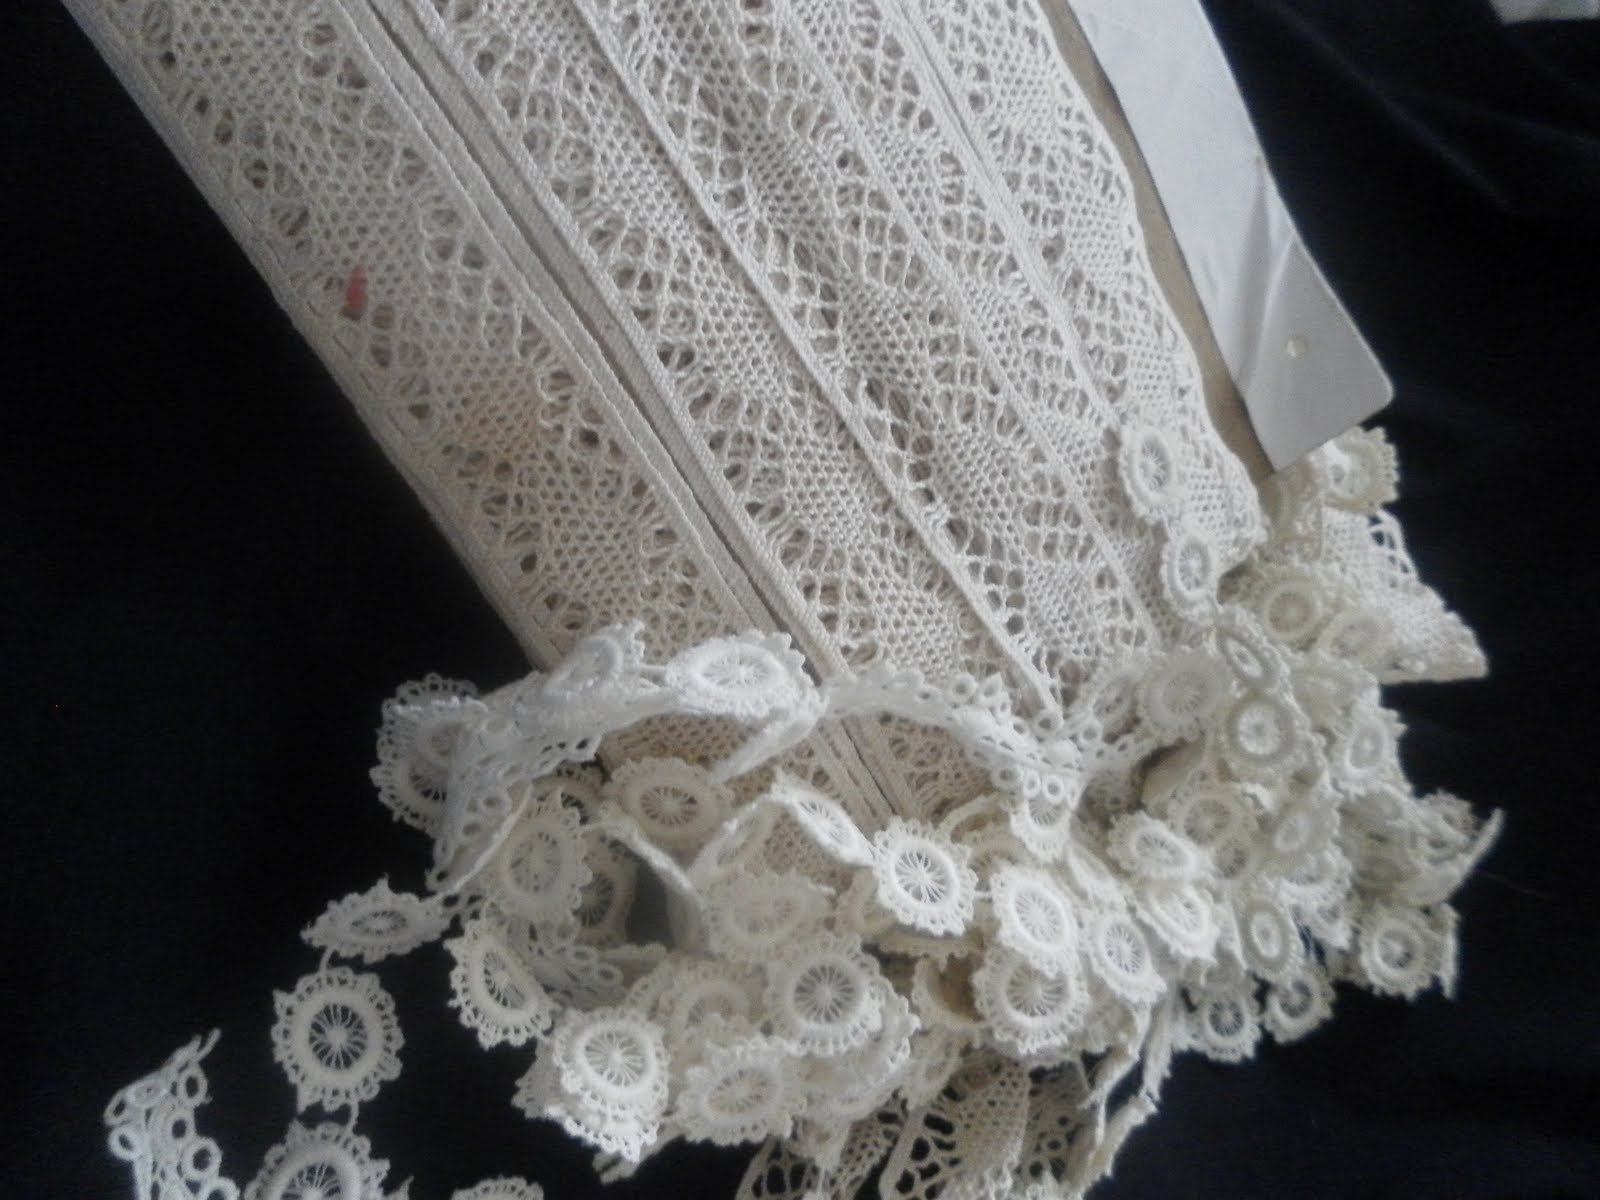
And I found this top screwed up in (one of) the sewing bags. I made it at the start of the summer in a Nani Iro sewalong set up by Cecili. I enjoyed the whole process of making it but I didn't like the finished top at all. I think it was the brown neckband that just didn't look right to me. I unpicked the neckband in July and then altered the sleeves. They had a wide shape that looked great on the hanger but just wrong on my arms. I made a casing at the end of each sleeve and inserted elastic. I then got too frustrated with the whole process of neck edging and chucked it in a bag. I was also put off after a (non-sewing) friend came round and critiqued the top for me. Now, I like to think I can take criticism but this conversation just made me want to give up. Maybe advice is easier to take from a fellow sewer? Any opinions?

So, when I found the top again last friday I decided to try and salvage it. I have given it a narrow binding type of neckband in a patterned fabric that I had scraps of. Apologies for its unironed state and that is a glimpse of vest underneath as it is too cold now not to wear one. The top looks much better now I think, much less Nativity Play costume, and I will wear it now. It is loose and comfortable, though I am not sure if it will make me look three times bigger than I actually am.

There is something so appealing about Japanese pattern books. I keep browsing them over at M is for Make and thinking about getting one for Christmas. I have some idea that if I wore these clothes I would be a calm person living in a beautiful house, with minimal and tasteful decorations. I would waft around drinking green tea from a tastefully handmade mug and I would never, ever shout at my children....(who would also be beautifully attired and have exquisite taste in toys, no second hand barbies in this world) I most certainly would not possess a Scary Cupboard. Ahhh, it's good to dream. I will report back in case my life suddenly and drastically alters due to wearing this japanese top.

Planting bulbs


Making presents for teachers - they painted the plant pots, plenty of glitter paint too. (I first sprayed the pots with a primer as a base
coat.) Then today we planted bulbs. Little I chose hyacinths that are the brightest pink. This is such a simple project that I haven't put it onto Crafty Christmas Club but there are some great ideas over there. Fingers crossed these bulbs flower....

Saturday 13 November 2010

ahem...hoarding alert


This is what lives in the bottom of my wardrobe. I can take
clothes to the charity shop, I can ebay and freecycle away my baby stuff, but I cannot, cannot part with this. I have to call it a collection rather than just a hoard because then I sound ordered and sensible. I keep dreaming of lace trimmed sleeves and dresses with lace necks, lace yokes. I think it really is about time I used some of this.
We don't have many family heirlooms - maybe this collection is about it, my grandpa ran a wedding and evening dress business from the 1940s until the late 1970s and these laces are from his now long-departed business.

Tuesday 9 November 2010

Sustainable Fashion in the Forest


I have been away from this space for a few days and from the internet. Little I and I went to Devon to visit my family for four days. Now home with an aching back from the drive. We went to a great place and if you ever find yourself driving to Plymouth or Cornwall on the A38, this would be a great stop off. We went to Haldon Forest, there is a cafe (hurray for food cooked by other people), there are some lovely walks and great views, Little I loved the sand-basd play area. But best of all for me? There is an exhibition space there (CCANW) and we saw,

Fashion Footprints, an exhibition looking at sustainable fashion. This exhibition was curated by a group of MA graduates from the London College of fashion. I did't get enough photos - apologies. Little I is doing some fabric weaving in the top picture.
There were display panels full of information and clothes on display. We liked the map of the world where visitors were invited to pin the labels from their clothes on the map to show where they came from. There was a coat and dress from Alabama Chanin whose work have seen in the blogosphere before but I have to say I like it more since seeing it in real life! It was a fitted long coat with applique and glass bead flowers and a dress underneath with appliqued flowers. Both were made in cotton jersey I think. There was a coat from a Leeds based collective Remade inLeeds.

There was a beautiful embroidered black kimono from 1910 that was a family heirloom, illustrating the idea of passing a special and cherished piece of clothing down through the family.

One thing that caught my interest was a display case with a lace collar and gloves in from the early twentieth century. Women would have used a range of different collars to make one dress look different. What a good idea - and one that made me think of the Uniform Project dress which comes with a detachable collar. What wasn't clear from the display was how they fixed the collar on. This exhibition is only on until 21st November but if you check the website the next one looks interesting too.


My sister was with me and we left with her thinking and discussing how to make our own lives more sustainable. I now think maybe she no longer thinks I am weird with my not buying new clothes.

I have not done any sewing of clothes since September now as I am having troubles with my machine, and I am having serious withdrawals now! Last night I ordered some grey cotton jersey on Ebay to try to make a jersey dress. I am not sure exactly what shape to make it...I am playing with several ideas. Meanwhile I am frantically handsewing little birds from felt to sell at a Christmas market and knitting Christmas scarves. I will share pictures soon.

Wednesday 3 November 2010

Making paper bowls

Preparing the pulp

Stirring the pulp

I have written out how to make the paper bowls - I hope that you can understand this!

You will need: bowls to be the mould - I used some small plastic bowls bought in the supermarket (originally for jellies at parties) , but you could use china or glass bowls. Petroleum jelly to grease the bowl
Plain flour
Waste papers - we used sugar paper in red, pink and yellow (not newspapers) Sugar paper gives a soft colour

Optional - cotton linters. These are used in craft papermaking and help to make your homemade paper stronger and smoother. They look a bit like sheets of blotting paper. We just added a one sheet to the mix. (This is where I usually buy linters in the UK, http://www.papershed.com last time I looked they were £3.15 for 250gm)

A blender or food processor

Coloured threads or glitter for decorating

A large plastic container - we used a big storage tub

Making bowls this way is quicker than the tearing strips of paper method that you may done in school.

  1. You need to prepare the pulp the day before you want to make the bowls. Tear the paper into small pieces about 2cm square and add hot water to cover - this will help soften the fibres. I leave this over night.
  2. Blend the papers adding water till you have a mix that is a bit like fine porridge. Stir it up before using as the fibres will sink to the bottom of the tub.
  3. Coat the inside of your plastic bowls with vaseline to act as a release agent.
  4. You will need to use a starch-based glue - we used flour and water (3oz flour: 1 pint water) but you could use wallpaper paste. We added the flour and water to the pulp mix and stirred it in.
  5. It is useful to sieve the pulp as you go along, we would sieve some pulp over the tub and then put it in the mould bowl. You neeed to firmly press the pulp into the sides of the bowl. If you want to decorate the bowl with coloured threads you put them in now - think about whether you want them to show on the outside or inside of the finished bowl. As we pressed the pulp into the bowl excess water comes out which we tipped away as we went. You can also add glitter at this stage. Make sure there are no spaces left uncovered by pulp or you will have a hole! At this stage I gently pressed an absorbant J cloth over the bowl to take out some excess water.

We stood the bowls on the radiator to dry and they took two days to dry out. Once dry you should be able to slip them out of the mould. If the bowl is hot form the radiator be warned any vaseline left on it will show up but it will disappear once the bowl cools down.


The wet bowls in their moulds

Tuesday 2 November 2010

Paper bowls


Following the visit to Bilston Craft gallery I got a bit carried away. I made these paper pulp bowls with the children on friday. They took two days to dry out. I am thinking of making some more to be Christmas packaging.